Freezer Paper Stencils are a quick and easy craft for the whole family.
You may already have many of the supplies around the house.
Supply List:
printer or pencil to draw your own design
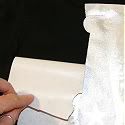
freezer paper
material or shirt
Xacto knife
cutting mat
iron or heat press
fabric paint
stipple or spouncer paint brush
tapered foam brush
tweezers
Step 1
Cut the freezer paper to size. It will need to be larger than the design to avoid getting paint outside the intended design area.
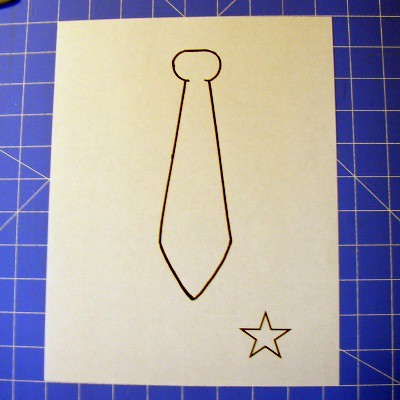
Draw or Print directly onto the freezer paper.
If printing be sure to print on the non-wax side of the paper.
Also, text does Not need to be in mirror image. How you see the design on the freezer paper is exactly how it will look on the material.
Step 2
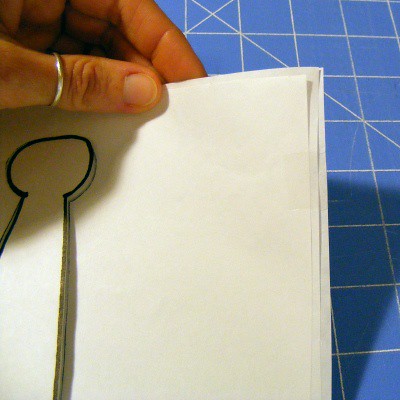
Using a sharp Xacto knife, cut the design out of the freezer paper.
Time Saving Tip: If you plan to make multiples of the same design, stack and tape additional blank freezer sheets under the printed design and cut all at once.
Step 3
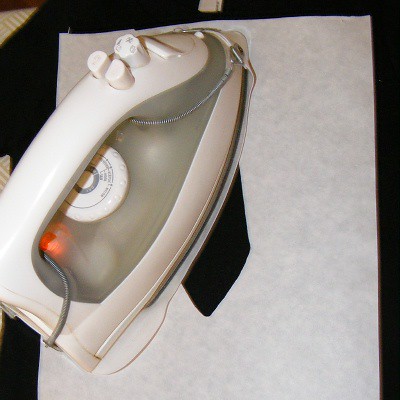
Lay out the design on the material, shinny side down.
Follow the heating instructions on the freezer paper box to apply the design to the material.
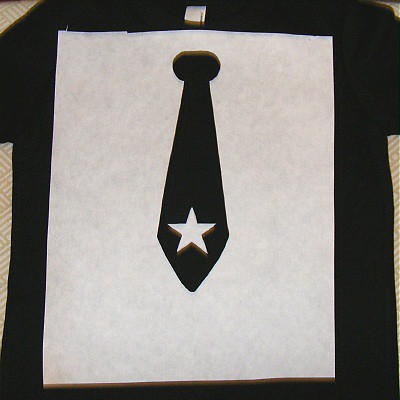
All the designs I made had elements within that I did not want painted.
Using the pieces cut out of the freezer paper, place and iron where desired.

Step 5
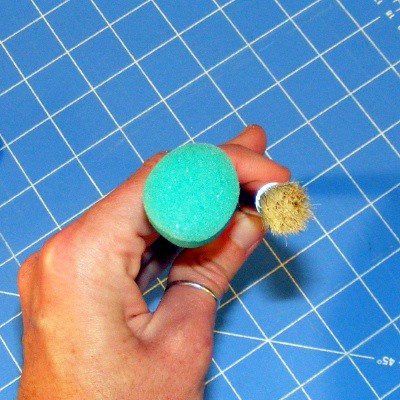
Gather your painting supplies.
Above is a picture of a Spouncer Sponge and a Stipple Brush.
I prefer to apply paint with a Spouncer because I feel it is less likely to cause the paint to bleed under the edge of the paper. But I have used both...
use what you have on hand or what you prefer.
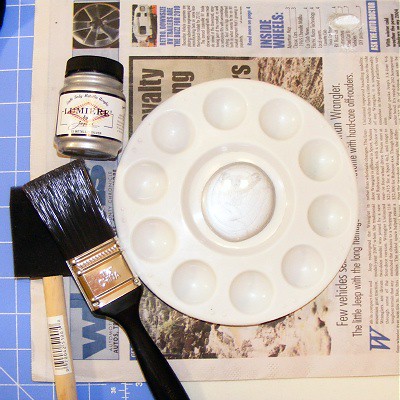
Above is the
Jacquard Lumiere Metallic Silver paint I used
and a tapered foam brush.
Note: I did not use the regular bristle paint brush in this project.
Prior to applying the paint put a sheet of freezer paper between the layers of the material to prevent bleed through.
Now your ready to paint!First use the spouncer/stipple brush.
Dip the brush into the paint.
When stippling it is important not to use too much paint. You do not want the brush dripping.
If needed tap the brush on a paper towel to remove excess paint.
To stipple: use light pressure dabbing the brush up and down on the surface of the material.
Apply one thin, even layer of paint.
Allow to dry to the touch and apply additional coats until desired effect is reached.
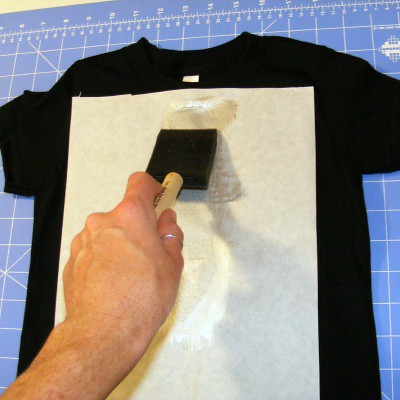
After I apply my last coat with the stipple method, I gently sweep a tapered foam brush over the design in one direction. I feel it creates a smooth even finish.
Step 6
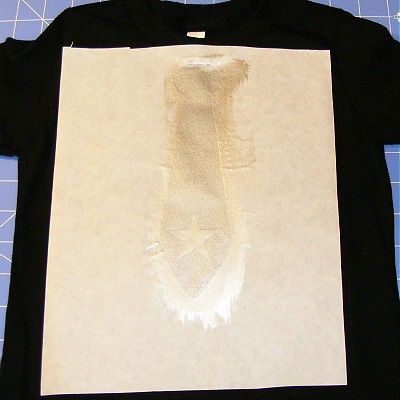
Allow paint to dry completely.
Step 7
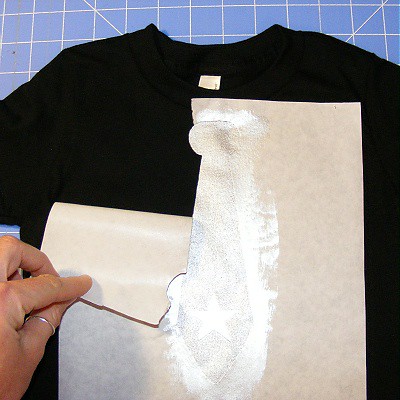
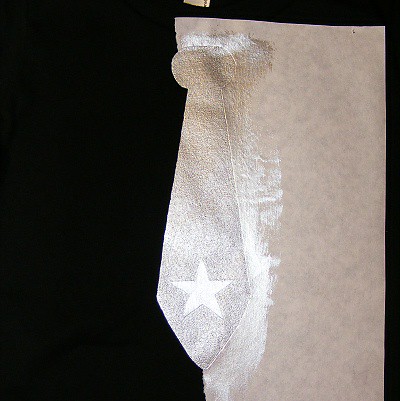
Remove stencil.
For tough areas use pointed craft tweezers to gently scrape the paper off.
Step 8 (optional)
Some fabric paint requires heat setting to allow for the item to be washed, others do not.
Read the instructions that came with your fabric paint.
The
Jacquard I used does require heat setting.
Per the manufacturers instructions:
Air dry for 24 hours, heat set by ironing both sides for 30 seconds at temperature suited to fabric. After heat set, colors are washable or drycleanable.
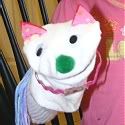
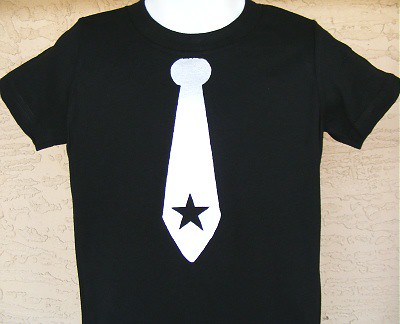
Here's your completed shirt
For more freezer stencil shirt ideas, visit
my Flickr account.
~Patricia
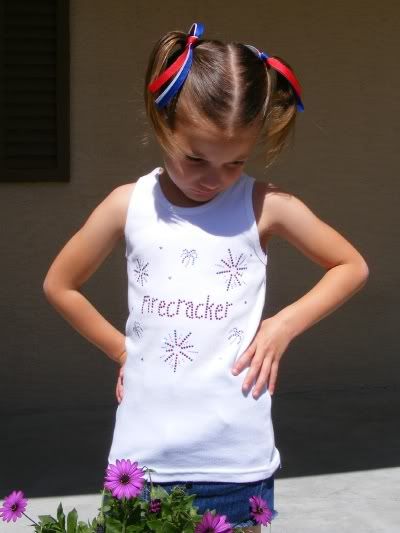 Custom Firecracker Bling T
 Custom MADE in the USA Bling T for Boys and Girls